Are you finding that you can print documents to your Epson printer over your home Wi-Fi network, but when you open the scanning program (Epson Scan 2), it just sits there searching forever and says “Scanner not found”?
No worries, mate, this is a very common issue for older folk learning new tech! The problem is usually that the computer is trying to use a confusing, unreliable network address. We just need to tell it to use the simple, stable address.
Here’s how to fix it in a few simple steps, using the Epson WF-4835 as our example.
Step 1: Find Your Printer’s Stable Address (IPv4)
First, we need to find the magic number we want to use. Look at your printer’s screen:
- Tap the little Network icon (it usually looks like a Wi-Fi symbol or a globe).
- Navigate through the menus until you find the Network Status or Connection Check option.
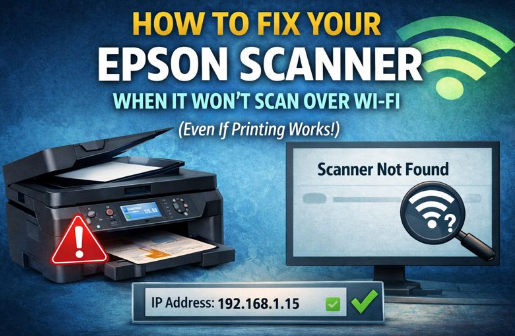
- Look for the IP Address. It should be a simple string of numbers separated by dots, like: 192.168.1.15.
- Write this number down. This is your stable address.
Step 2: Open the “Epson Scan 2 Utility”
Make sure you open the right program! Do not open the standard “Epson Scan 2” application that is currently giving you trouble. Instead, find the configuration utility:
- Click the Start button (the Windows logo) on your computer screen.
- Type “Epson Scan 2 Utility” into the search bar.
- Click on that application when it appears in the search results to open it.
Step 3: Enable Editing and Add the Address
In the window that opens, we need to manually input that stable number you wrote down:
- Click the Enable Editing button in the bottom-left of the utility window.
- A window might pop up asking if you want the app to make changes to your device; click Yes.
- The Add button will now be active (no longer grayed out). Click Add.
- A new box appears. Select the option that says Enter Address.
- Type in the IP address you wrote down in Step 1 (e.g., 192.168.1.15).
- Click Add, and then click OK to save the new entry.
Step 4: Select the New Connection and Scan
You should now see two entries in your list eg: “Network 01” (the unreliable one) and a new one, perhaps called “Network 2” (your stable connection).
- Make sure the new “Network 2” entry is highlighted (selected in blue).
- Click OK on the main utility window to save and close it.
- Now, open the main Epson Scan 2 program you usually use to scan documents.
It should now connect instantly! You have successfully bypassed the problematic auto-search feature and manually linked your scanner with a reliable connection path.
I started this service after seeing how many older Australians struggle with technology — not because they can’t learn it, but because no one takes the time to explain it properly. With more than 20 years’ experience in digital technology and online training, I wanted to create something patient, local, and genuinely helpful.